How to Print ID Cards using an ID Card Printer
How to print ID Cards using an ID Card printer.
Printing professional Staff ID Cards, Student ID Cards, Employee ID Cards, Membership Cards, and more is easier than ever, and you can do it all in-house.
If you're new to ID card printing, the process can seem overwhelming. In this guide, we’ll walk you through everything you need to know, from choosing your software to printing and laminating your cards. If you haven't yet found an ID Card printer, take a look at our top picks!
You will need:
An ID Card printer
A suitable computer
ID Card printing Software
Blank ID Cards to print on
Printer ribbon
Laminate film (optional for extra durability)
Step 1: Choosing your software
For Mac Users
We recommend Cardpresso, which is widely recognised for its ease of use, powerful features, and compatibility with most ID card printers. Multiple licence levels are available to suit your budget and requirements.
For Windows Users
Every ID card printer purchased from Lesar UK comes with free E-media design software, perfect for creating professional card layouts. Cardpresso is also an excellent cross-platform alternative.
Step 2: Designing your ID Card
- Install and launch your chosen ID card software.
- Create a new project using CR80 card dimensions (54mm x 86mm) for standard size for PVC ID cards.
- Begin designing your card layout.
- Add logos, branding, shapes, staff photos, and text.
- Use high-contrast colours for readability.
- Keep designs clean and professional.
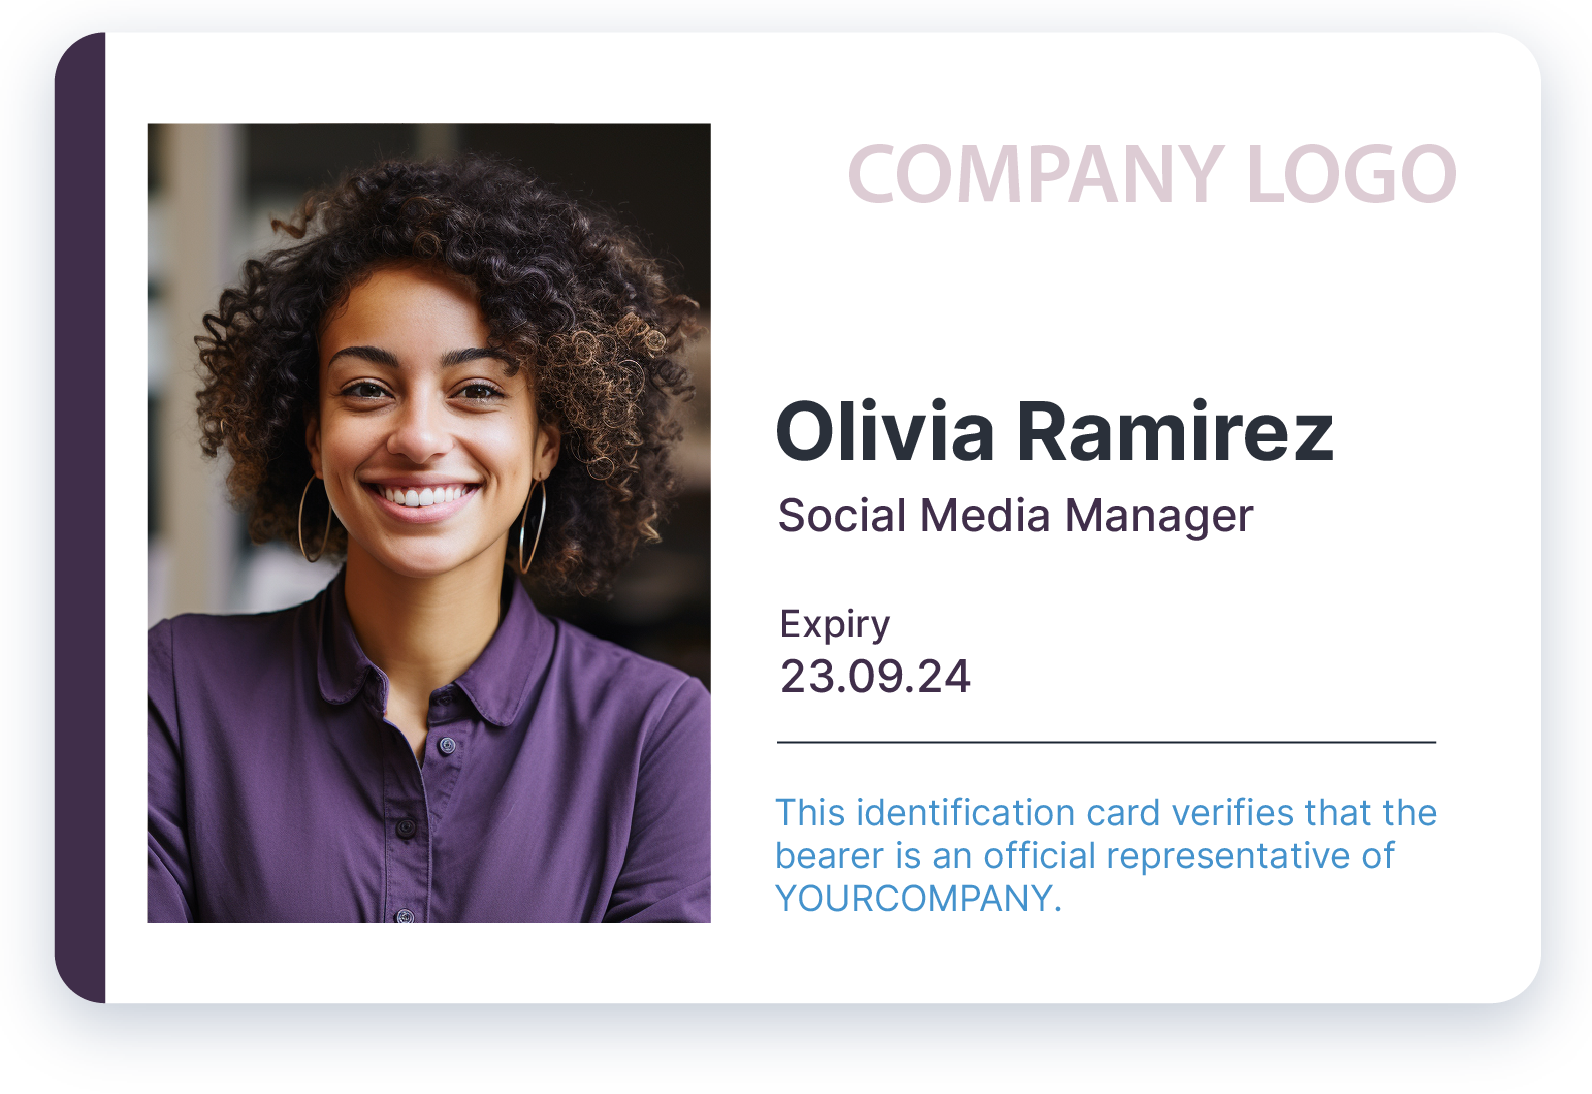
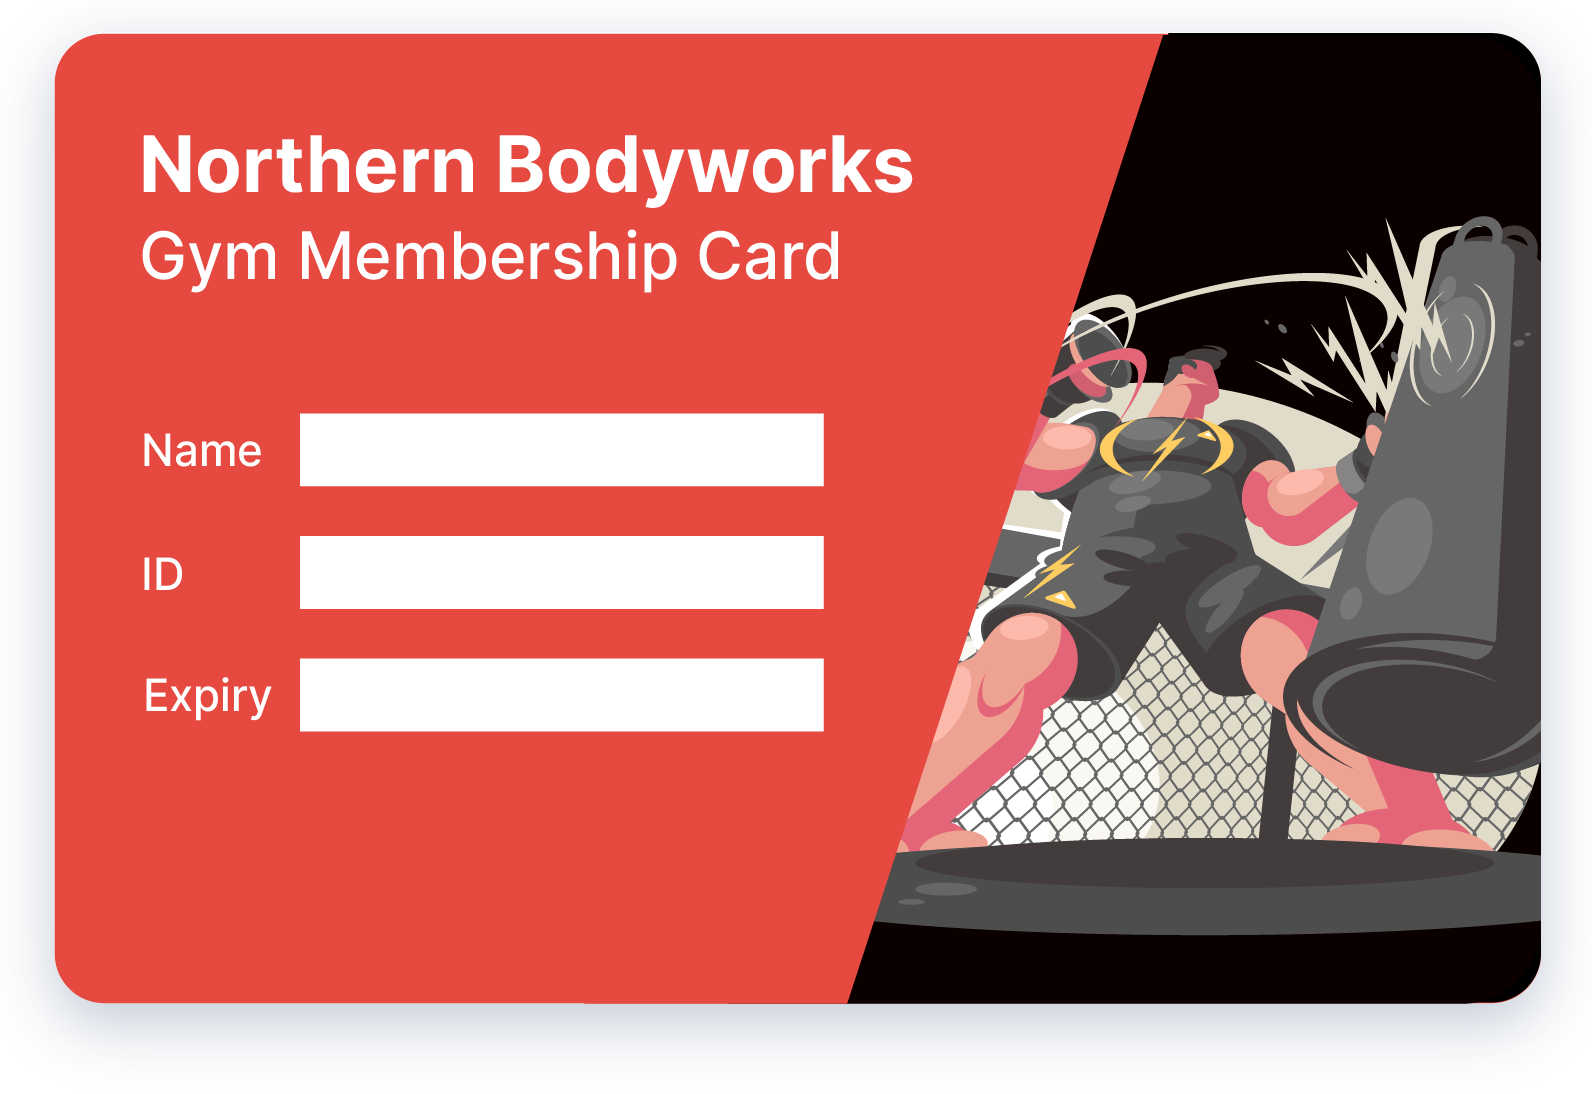
Find some inspiration below, or take a look at our top 6 ID Card designs.
Note: consider the type of ribbon when choosing a design. Monochrome ribbons will not be able to produce colours, and specific ribbons are reccommended when printing double sided.


Step 3: Add Cardholder Data
Adding cardholder data is a crucial step as it personalises each ID card. Open your PVC ID card design software on your computer. This is where you'll be creating the design for your ID cards.
- Create a new project or open an existing one if applicable. Make sure your project's dimensions match the standard ID card size (typically 54 x 86 mm).
- Within your design software, locate the tool or option for adding text or data fields to your ID card. This may be labelled as "Text," "Field," or something similar.
- Click or select the area on the card where you want to add cardholder data, such as the cardholder's name, ID number, and any other relevant information. Typically, you can drag and resize a text box to fit your needs.
- Enter the cardholder's information into the designated text box. This can include their full name, employee ID, department, or any other relevant details.
- If needed, you can also add the cardholder's photo to the design. Use the "Image" or "Photo" tool in your design software to import or capture a photo and place it on the card.
- Adjust the font style, size, and colour to ensure that the cardholder data is legible and matches your card's overall design.
- Repeat the process for each cardholder, making sure to customise the information as needed for each individual card.
Step 4: Choose the Printing Method
- Turn on your PVC ID card printer and ensure it's connected to your computer.
- Open the chosen printer software.
- Select your printer model within the software, and make sure it's recognised by your computer.
- Adjust the following printer settings:
- Print Mode: Choose between colour or black and white (monochrome) printing based on your design.
- Print Quality: Select the desired quality setting (usually "Standard" or "High Quality"). Higher quality settings yield crisper prints but may take more time.
- Colour Density: If available, tweak the colour density or contrast for the best colour results.
- Card Thickness: If applicable, set the card thickness to match your PVC cards.
- Ensure your blank PVC cards are loaded correctly in the printer, securely aligned in the feeder.
- Print a test card to verify your settings and make adjustments as needed to achieve the desired results.
Properly setting up your PVC ID card printer is crucial for achieving high-quality ID card prints. Once this step is complete, your printer is ready to produce professional ID cards.
Step 5: Load Blank PVC Cards
Open your PVC ID card printer and follow the manufacturer's instructions to load the blank PVC cards. Ensure that the cards are properly aligned and securely loaded in the printer. ID Cards can come with features such as magstripes, signature strips, access control, blank white or colour. Make sure you purchase the correct ID Cards for your needs, and it doesn't interfere with your design.
Step 6: Print Your ID Cards
Send the card design to your PVC ID card printer. The printer will print your ID cards one by one. Dependent on the capacity of your printer, or if it's hand / manual fed, you may need to collect these as they print and feed them in manually. Check the specifications or call us on 0333 7000 123 or message us on our live chat and we'll find out for you!
Step 7: Laminate Your ID Cards (Optional)
If you want to add extra durability and security to your cards, consider using a laminate film to apply a clear protective film to each card. Laminate film is compatible with specific printers, so make sure you get the correct one - we can also help advise this!
With the right tools and setup, printing your own ID cards is simple, cost-effective, and fast. If you need advice choosing a printer, software, or supplies, the Lesar UK team is here to help.
If you have any questions or need further assistance, don't hesitate to reach out!
Call us at 0333 7000 123, message us on live chat, or browse our full range of card printers and accessories.